Sunday, November 20, 2022

November Update

I've been slow to update my blog for the past few months. I was able to do some hobby stuff in late October, but a recent setback in my cancer treatment kept me from doing much in November. I'm finally getting around to posting the photos of some troops I finished in late October. I was able to get out for a little while this weekend to see the NHMGS Game Day at the Museum of Flight. 


First up the painted troops. After some diversions, I finally finished the mounted troops for my Sage Norman army (I talked about the foot troops in this post). The mounted troops took me a little longer than normal because I seem to have trouble getting my horse colors to turn out right. But here they are finally done. 

Mounted Normans

The figures are from the Gripping Beast Saga Norman starter box. Here are some close-ups of the leader and two hearthguard units. The shield transfers are from Little Big Men Studios.

Army leader

The first hearthguard unit

The second hearthguard

That gives me a 5 point Saga army. I would like to add a banner and maybe some mounted javelins. But it will probably be a while before I get those. Here is a photo of the whole army. 

Saga Norman army

As I mentioned above, I had to slow down in early November due to some treatment setbacks. After a few weeks of resting up and working to get back on track I decided I could use a short outing. I took the opportunity to spend a little time at the Seattle Museum of Flight for their hobby day, which included the NHMGS game day. It is always fun to see gaming under the aircraft at the museum. Here are a few photos I took at the event. 

Overview of the game and model areas
The DBA gamers were able to coax some museum visitors into trying out a game.
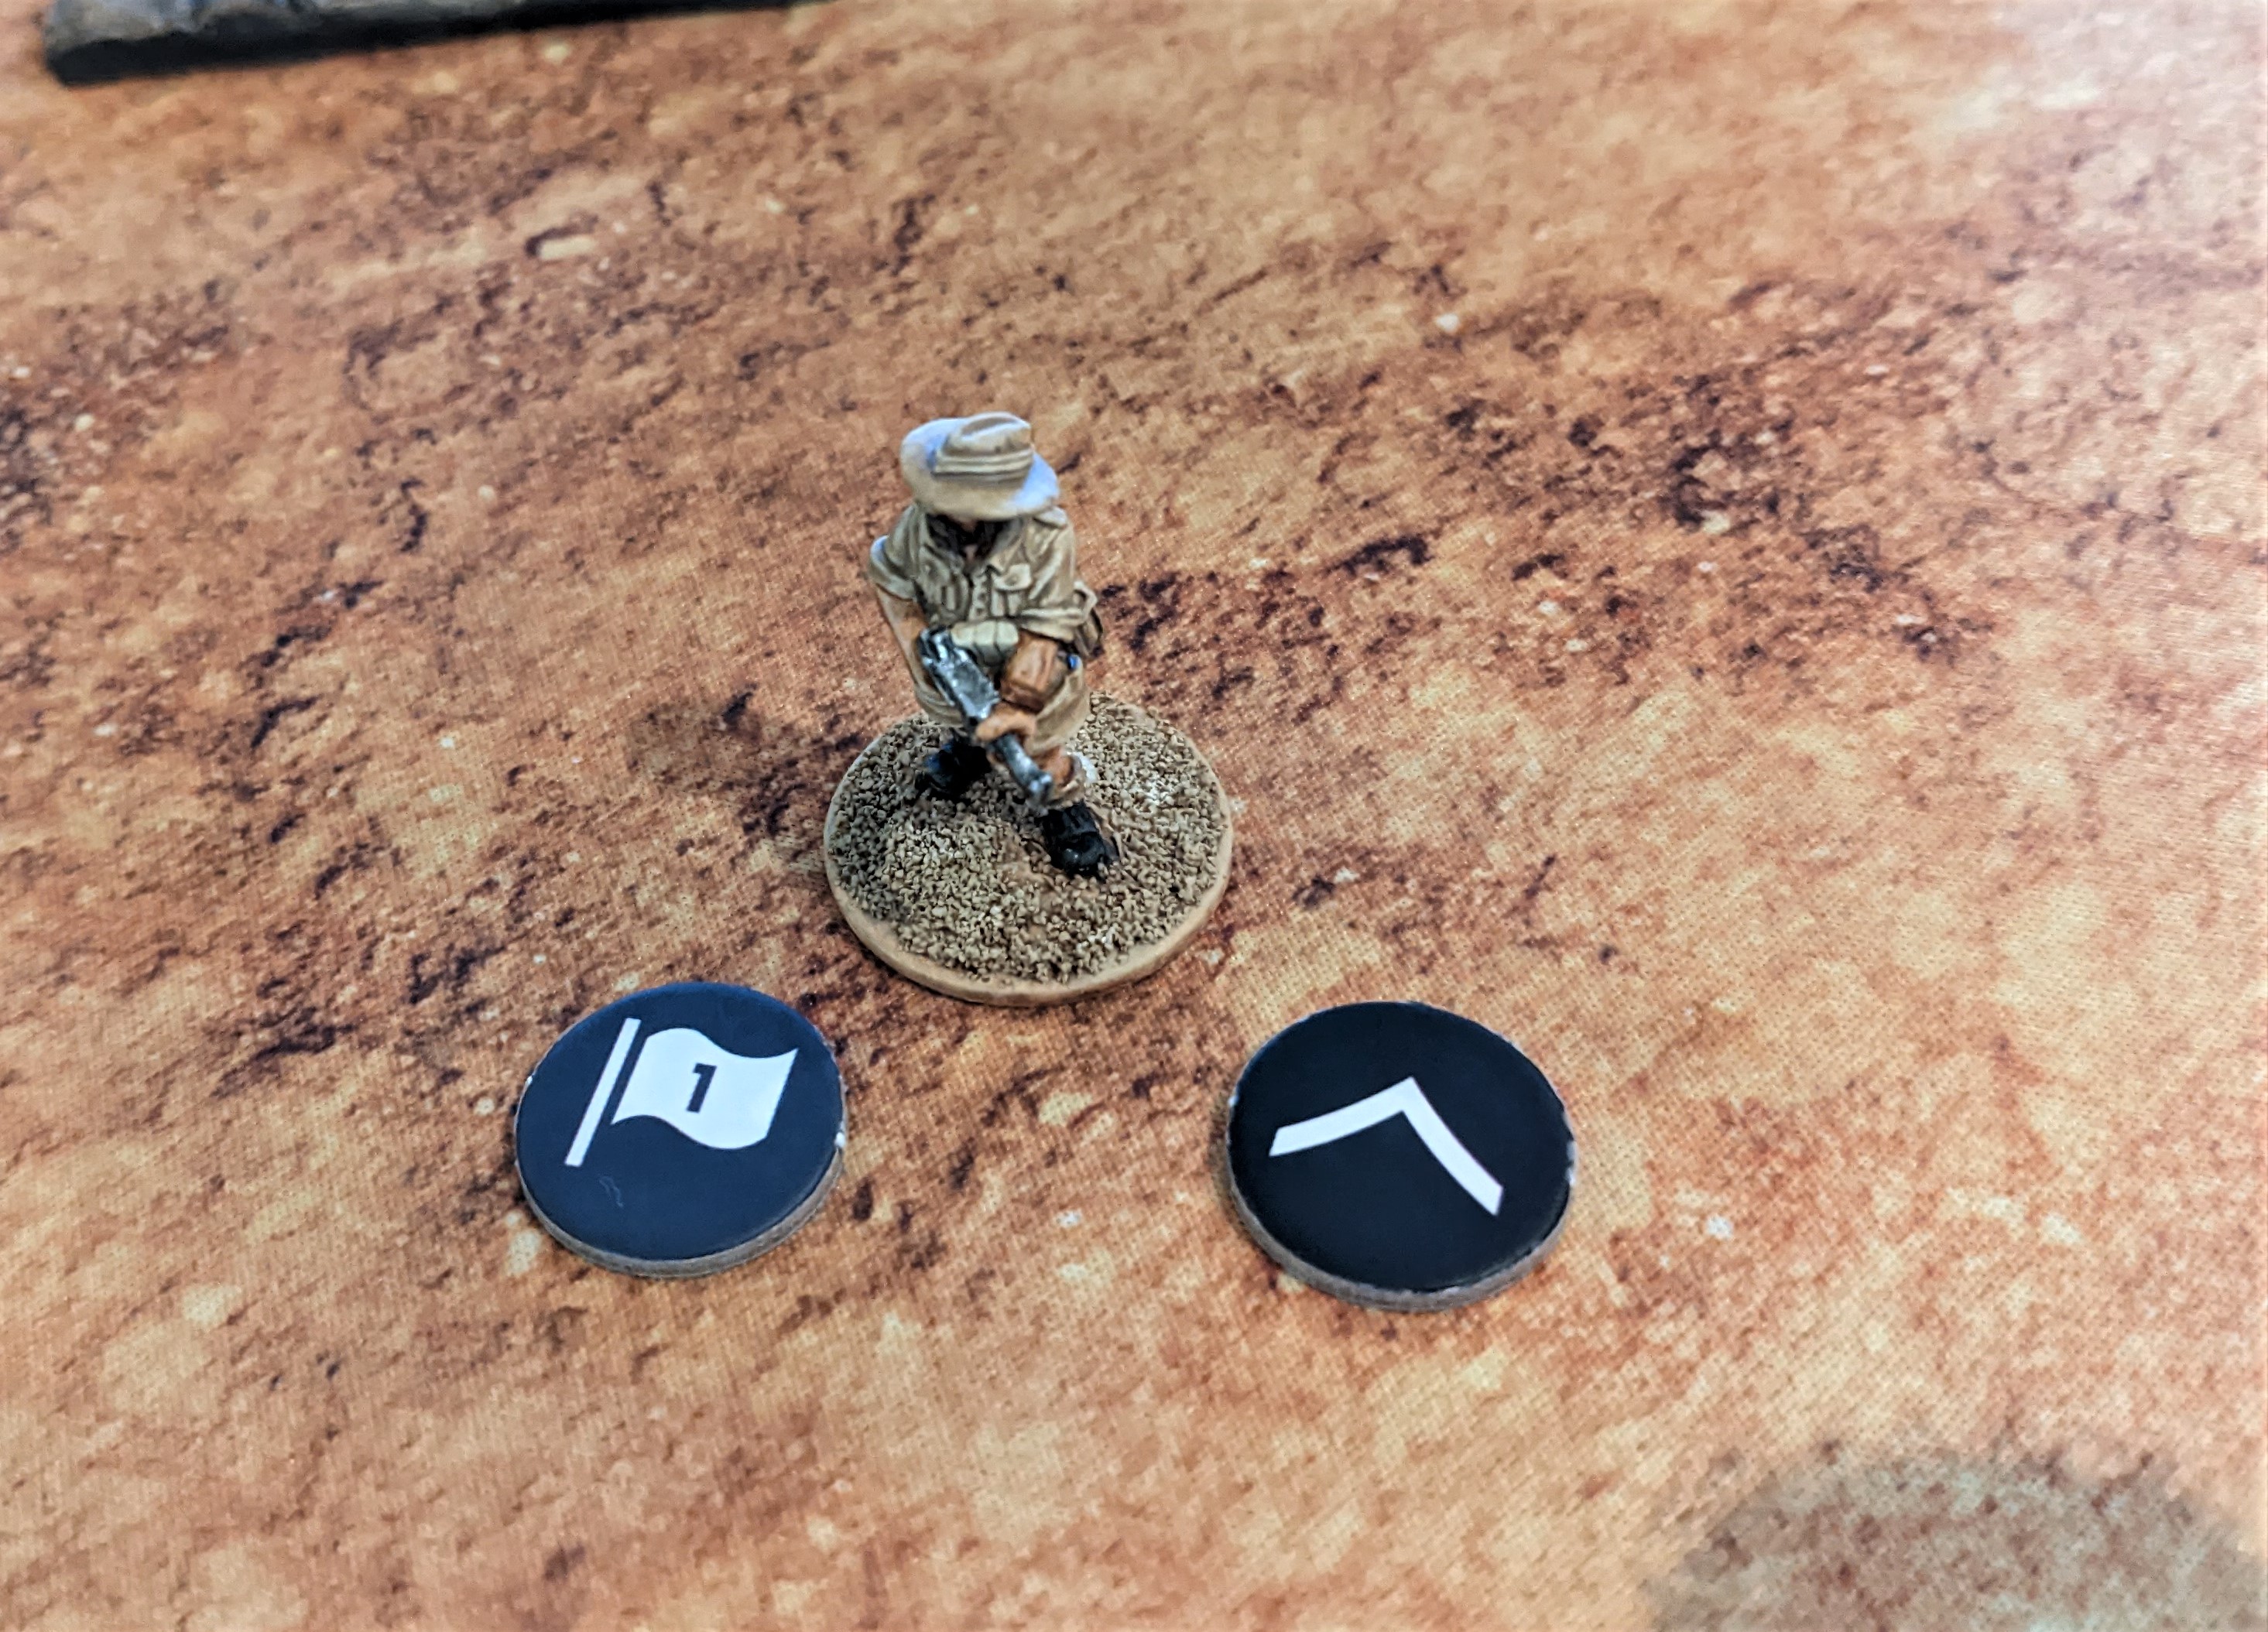
Maybe some new recruits?
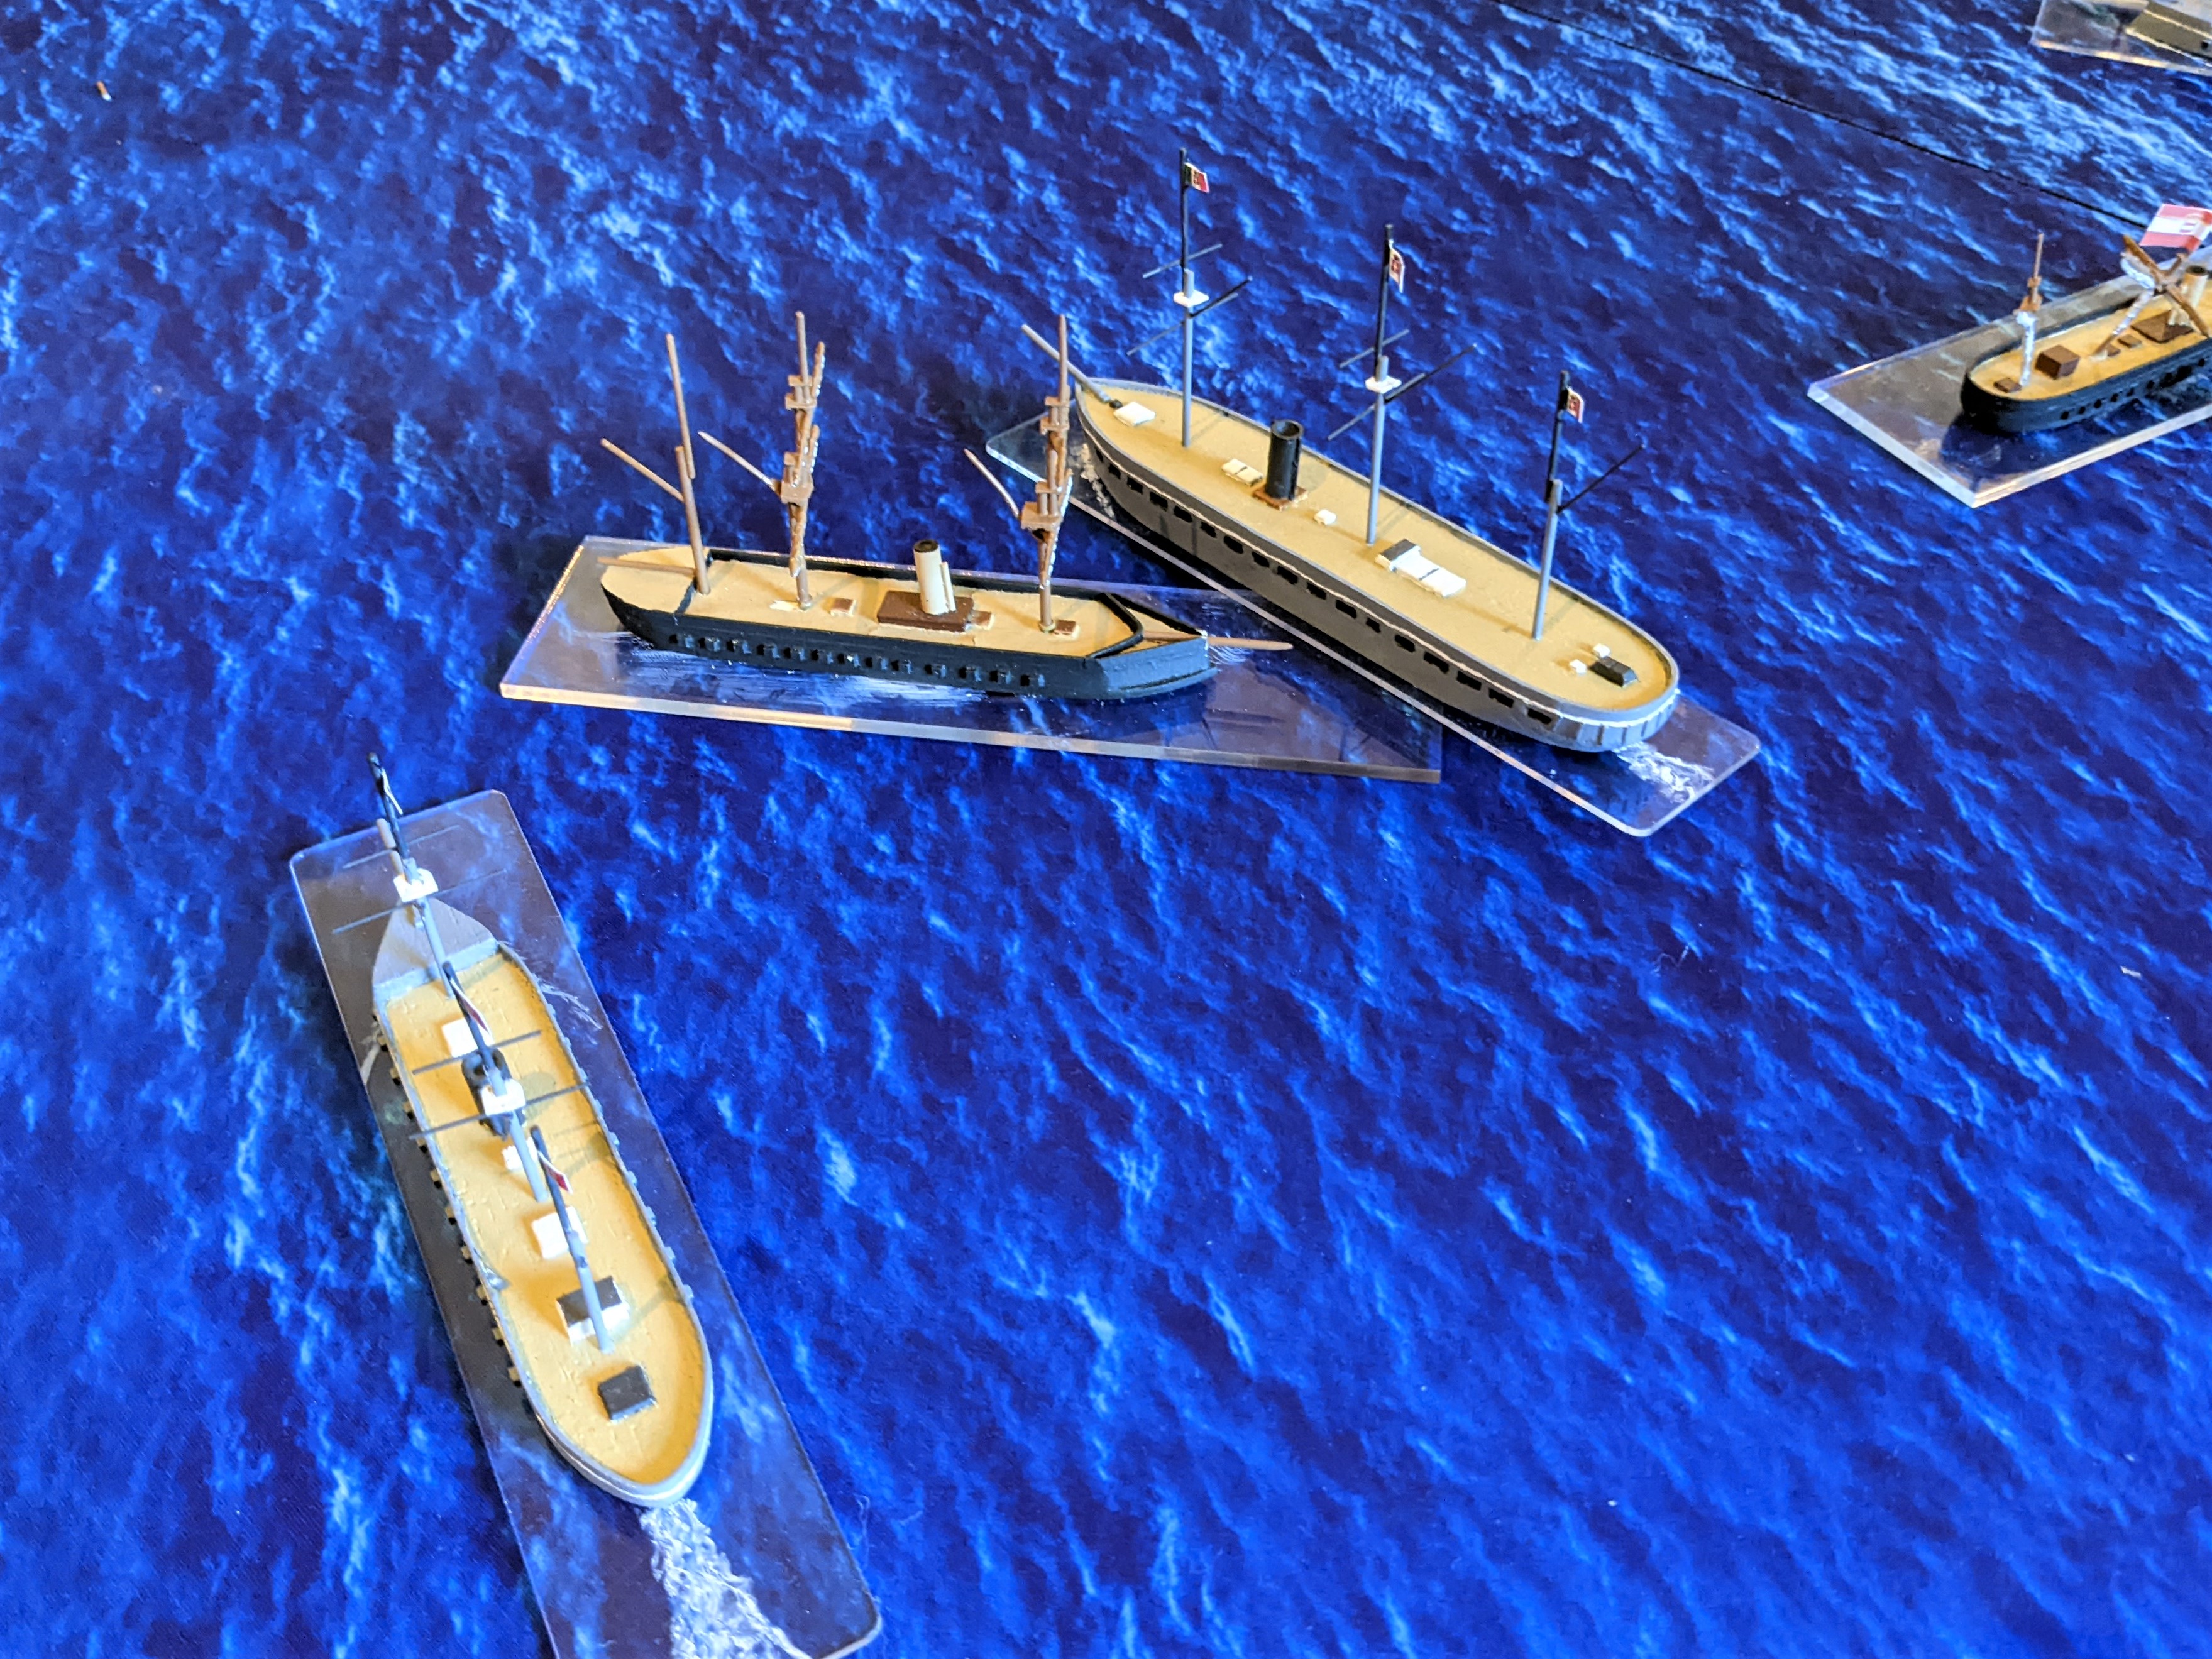
The camp for the Jewish uprising army was some great eye candy too.
Romans Go Home!
There was also some air racing.
All bunched up on the last lap

And some other games ...

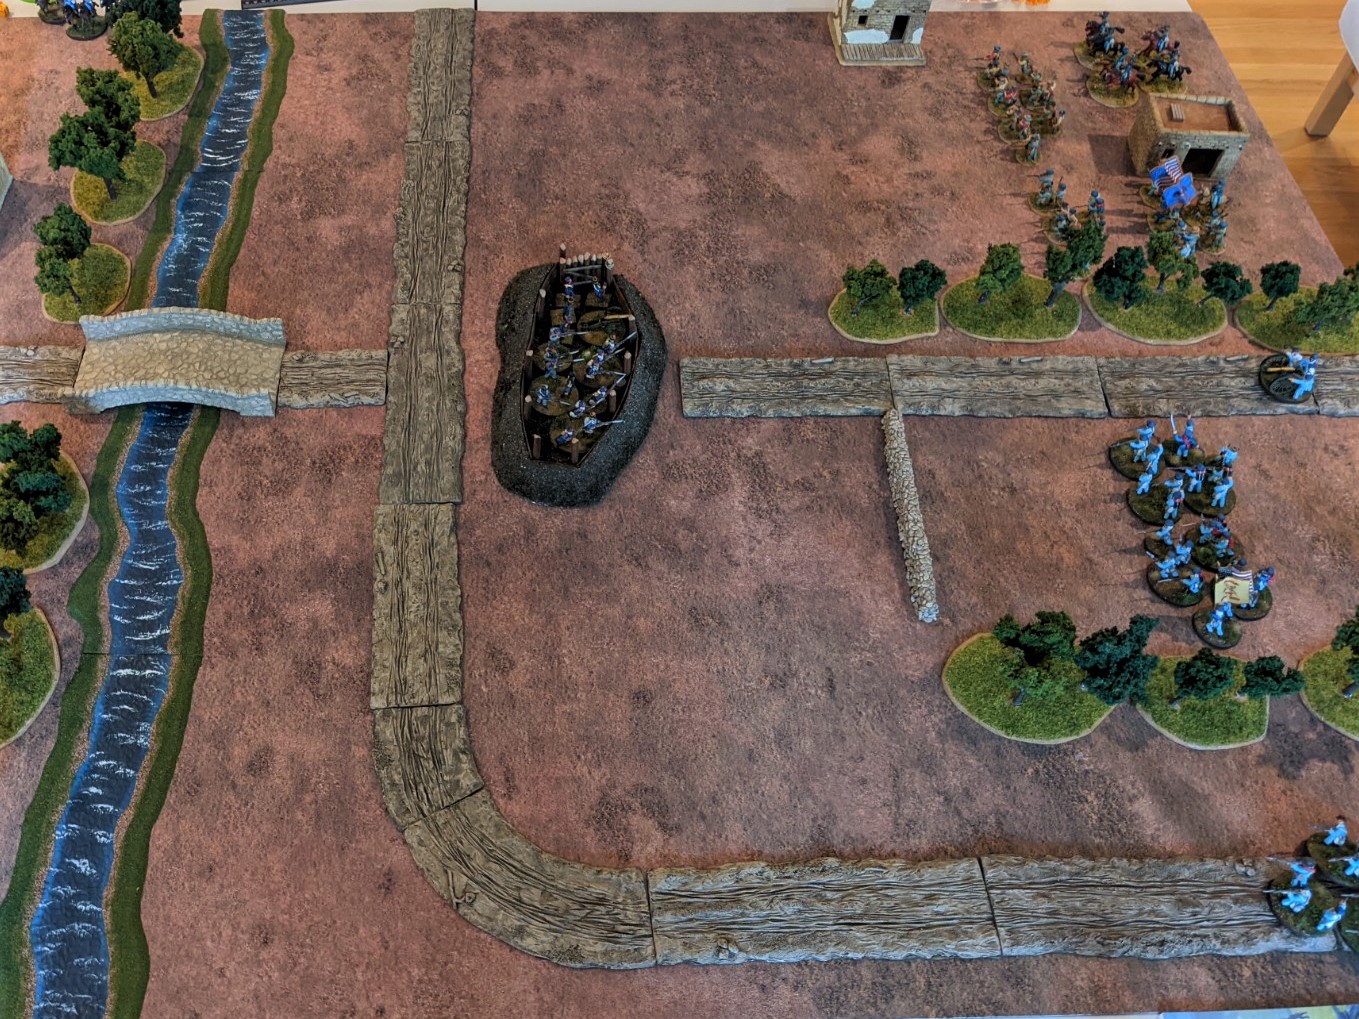
Northwest Indian Wars using the Brother vs. Brother rules

There was another gaming period in the afternoon, but I was already gone by then.  


It seemed like there were a lot of people stopping by to ask questions and take a look at the games. So I would say it was a successful event.


As always, thanks for looking in on my blog. Due to upcoming treatments, I don't expect to get up another post until the end of the year.

Friday, October 21, 2022

02 Hundred Hours

Earlier this year Grey for Now Games announced they would be publishing 02 Hundred Hours, a new set of rules for night-time raids during World War 2. It sounded like an interesting topic, so I pre-ordered a starter set.


The starter set includes the rules, gaming cards, custom dice, counters, and 36 figures. The figures are multi-part plastic from Wargames Atlantic. I haven't had a chance to assemble my figures yet, but a few of us wanted to try out the system with stuff we already had. We decided go with our North Afrca figures and do an intelligence gathering mission by Long Range Desert Group (LRDG) on an Afrika Korps post. The game is normally for two players, but there were three of us playing and learning the system.


The system is interesting. You draw chits to see which of your fighters can take an action, but the actions are limited by the alert level and if you can see any of the enemy. Spotting the enemy is very important. Only the attacker can take offensive actions until the alarm is sounded. There are also Event/Order cards that each side can play to change things up a bit.


The game area is 3' x 3' and we set up lots of buildings on the board. The LRDG had an officer, a sergeant, and 8 troopers. The Germans had officer, a sergeant, and 16 sentries/military police, although half were off-map in reserve. 

The initial setup with German patrols deployed

Another view of the initial setup

Once I set up my patrol routes, we got underway. Initially the LRDG were slow getting on the board and had trouble ambushing some of the sentries. But then their paratrooper Sergeant showed up and took out the German officer to get things rolling.

One German down

The Germans struggled to sound the alarm, but eventually got there and called out the reserves. However, sounding the alarm sort of freed up the LRDG from having to be stealthy and they pummeled the initial German sentry force.

German sentries raising the alarm before getting shot to pieces

With the initial sentry force out of the way, the LRDG still had to find the intelligence and get off the board. So there was a bit of a race to search the buildings, while the German reserves tried to get on the board. Gunfire was exchanged and the Germans began to knock down some of the LRDG. The LRDG officer found some good intel and began to make his way off the board, while both sides were trying to get into position around another building with intel.

LRDG Officer making off with the intel

The game went back and forth or a while, then the LRDG found another intel marker that would give them the win. Meanwhile, the Germans needed to kill one more LRDG figure before they could get the intel off the board to win. But the Germans came up short and the LRDG escaped with the intel. It was an LRDG victory, but a costly one. Our first game was a lot closer than I expected.

German reserves move up to stop the LRDG

LRDG troopers set up to cover the escape
Germans in pursuit of the LRDG trooper with intel
The LRDG trooper escapes, giving the win to the LRDG

Overall, it was a fun game that can be played with not too many figures. The gameplay built up a nice narrative. There are several scenarios in the rules, so there is some variety in gameplay. The game worked fine with three players and would probably work with a fourth. But it may bog down with more than that.


If you are interested in small scale raid actions during World War 2, I would recommend you take a look at the game.

Friday, September 30, 2022

Diversions

Earlier this year many of the guys in my gaming group began working on a World War I project, focusing on the early months of the war. The plan was to use the 1914 rules from Great Escape Games. Since Great Escape Games only had Western Front figures (German, French, B.E.F. and Belgium), they planned to use Kallistra figures too, so they could do Eastern Front battles. 


While I was willing to play a game, I was not planning on painting up any armies for the project. However, after one gaming day, I found a pile of Kallistra Belgians abandon on my doorstep (okay they were really abandon on a table after another game). So, I decided to (or sucked into, depending on your point of view) take in the orphans and work on a Belgian army brigade. 


Here is the finished project.

My Belgian brigade with 3 infantry regiments, 1 cavalry regiment, and supporting artillery

The Belgians weren't really prepared for the German attack and went through several different uniforms in the first months of the war. Because of this the infantry figures from Great Escape Games and Kallistra are not compatible. The Great Escape Games infantry wear the long coat and shako available at the start of the war, while the Kallistra infantry had the Yser cap and coat from September - October 1914. The cap and coat are a blue-gray color and I went with gray for their pants, even though there are references to wine-colored paints. I worked with what I had and put together 3 infantry regiments, each with 4 infantry companies (stands) and a machine gun stand. The infantry colors are probably too uniform, since the Belgians were using whatever they could find for uniforms and there were many civilian clothes mixed in with the standard uniforms.

2 infantry regiments with attached machine guns

The cavalry was painted up as Mounted Rifles (Chasseurs a Chevel), which still have their shakos. The game calls for mounted and dismounted stands, so there is a total of 8 cavalry stands. I used a different blue color for the cavalry to show the difference between early war and the Yser uniforms.

Mounted and dismounted cavalry regiment, next to and infantry regiment

To round out the brigade, I added a couple field guns, and command stand, and a Minerva armored car that I inherited from another person in the group. I'm planning to use the armored car as the machine gun stand for the cavalry regiment. The command stand includes a scratchbuilt table with maps.

Artillery, command, and armored car stands

While the whole project diverted me from my other projects for a little while. It is good to have them done to add to the bigger WWI project. Now it is time to shift back to the other projects. 

Saturday, August 27, 2022

USN Cruiser - USS Salt Lake City

After a little time away from hobby stuff to deal with some medical stuff, I wanted to put up a quick post to show some work I've been doing. Here is the completed version of the U.S. Navy cruiser USS Salt Lake City.

Port quarter view of USS Salt Lake City

Salt Lake City, and her sister ship Pensacola, were originally designated as a light cruisers (due to a lack of armor), but were re-designated as heavy cruisers when the 1930 London Naval Treaty said that cruisers with 8" guns were now heavy cruisers. Salt Lake City fought at the Battle of Cape Esperance and Battle of the Komandorski Islands. The cruiser survived World War II and was sunk as a target ship in 1948. 


The model is a 1/1200 scale 3D print from XP Forge. Below is a photo of how the model originally appeared. As noted in previous posts, the masts for most of the ships are a little bulky compared to the rest of the ship details. So, I removed and replaced the original masts and floatplane crane with scratchbuilt versions.

Original 3D print

The cruiser is painted up in Measure 21 camouflage (Navy Blue and Deck Blue), which she wore in 1942-43 during her deployments to the South Pacific and Aleutian Islands. The colors used in Measure 21 are pretty close to each other, which makes for an almost mono-color ship. So I did a little dry-brushing to give it the battered "I've been patrolling the Pacific for a long time" look. 

Port side view

Starboard side view

Sunday, August 7, 2022

2022 International Naval Wargamine Day - Lissa 1866

After a bit of a hiatus from gaming and painting, a few of us got together on Saturday for an International Naval Wargaming Day game. For those of you that are unfamiliar with International Naval Wargaming Day (INWaD), in 2017 David Manley, well know rule writer and naval gamer, kicked off the first INWaD as a day to "Celebrate the birth of the father of naval wargaming, Fred T. Jane, by running or taking part in a game of your own!"


Our INWaD game this year covered the 1866 Battle of Lissa. We used 1/600 scale ships and the Sail and Steam Navies rules with the optional gun group rule (slightly modified). The ships are from Bay Area Yards, which can still be found on Facebook. It was a group project with 3 of us putting together the ships. We included all 1 Italian ironclads, 7 Austrian ironclads, and 7 Austrian wooden ships that formed the Austrian second line. 


The Austrians were set up in 2 wedge formations, with the ironclads leading the way, and could start at full speed. The Italian ships were set up in a line ahead formation, but a little strung out and limited in their initial speed. This was done to represent Italian command confusion in the historic battle.

Austrian setup, with the ironclads in front
Italians in line ahead (the last 3 ships are out of the photo)

To help get the game going, the Austrians were set up close enough for some ships to make ram attacks on by the end of turn 1.

Austrians closing with the Italian line

The Italians fired at the closing Austrians. Most shots were ineffective, but one lucky hit damaged the engines on the Austrian ironclad Salamander leaving it to limp along. But even with the close setup, the Austrians were only able to ram 2 Italians on the first turn.

Two Italians (top and center) are rammed. The lower ship didn't quite make it

The ram results proved to be devastating, leaving both Italian ships (Ancona and Re D'Italia) in a sinking condition. The Austrian rammers were able to back out and look for other Italians.

Hapsburg (top) and Erzherzog Ferdinand Max leave Ancona and Re D'Italia sinking

The Italians exacted some revenge on the next turn as San Martino rammed and sank Don Juan De Austria.

Don Juan sinking

At the rear of the Italian formation, Prinz Eugen rammed Re Di Portogallo but didn't do enough damage to sink the giant ironclad. However, the ships did become fouled and would spend the next couple of turns trying to separate themselves.

Prinz Eugen and Re Di Portogallo locked together

By this time the Austrian second line was getting into action. The Austrian wooden 92-gun steam ship of the line Kaiser tried to ram the Palestro, but it was only a glancing blow with no damage done. But this did allow Kaiser to turn parallel to Palestro and unleash a full broadside on the next turn. The short range broadside racked the armor on Palestro and encouraged the Austrians to try to get Kaiser within short range of other Austrian ships.

Kaiser attempts to ram
Kaiser and Palestro exchange fire

The lead Italian ships, Principe De Carignano and Castelfidardo, found themselves in a target rich environment, which made maneuvering, ramming, and avoiding being rammed difficult. 

Lead Italian ships moving through the Austrians

During the game, there were some effective gun shots, but most of the time it was just chipping away at armor. Several players remarked that the game felt more like galley warfare than ironclads. 

The scrum on the right side was starting to break up with several ships seeking open water, so we decided to call the game at this point. The Italians had lost 2 ironclads, but most of the remaining ships were battered enough that they may no survive further action. The Austrians lost 2 ironclads and 2 wooden ships, but most of their other ships were in decent shape. We decided this was an Austrian Pyrrhic victory - a win but not a great win.  

One last photo of the scrum on the right side of the table

Overall it was a fun game and kept everyone involved. The results were mostly historical, with ram attacks proving effective and gunnery not so much.

Sunday, June 19, 2022

Battle at La Purísima bridge

I was hoping Saturday would be the first lawn game of 2022. But the lawn was still a little to wet from the previous day's rain and the clouds looked threatening. So, since there were only 3 of us, we moved the game inside.


We played a Mexican - American War scenario using the Rebels and Patriots rules. The scenario was loosely based on the Battle of Monterrey with the Americans attacking a fortified position to try to take a canal bridge to get into the city. Historically, the Americans attacked a little further to the east and also had a outflanking maneuver to the west that forced the Mexicans to abandon their positions on the edge of the city and move into the city.


I played the Mexicans against two American commands. Here is an overview of the initial positions of the attack, where you can see the bridge.

Overview of the battlefield with the Americans on the right.

I had an infantry unit and light artillery in the redoubt, with a few more infantry units and a light cavalry coming up as reinforcements (all the Mexican units were rated as poor shooters, which showed in the game). The Americans had six infantry units, one light artillery, and a unit of dragoons.

Troops in the redoubt
Mexican reinforcements
The American right side, with 3 infantry and dragoons
The American left with 3 infantry and light artillery

The first few turns the Americans advanced and fire went back and forth without any major damage to either side. Then American commander on the left ordered his infantry into Close Order formations and began using volley fire, which began to take a toll on the Mexicans in the redoubt.

American left pouring fire into the redoubt

The Mexican reinforcements were moving slowly (several failed activations, including a double 1 followed by another 1 forcing the unit to shoot at a friendly unit). The Mexican light cavalry put in an appearance, but was quickly destroyed (I made a poor tactical deployment). One of the reinforcement infantry units did make it to the bridge.

The Mexican light cavalry puts in an appearance
And are quickly shot to pieces
The colonel leads one infantry unit across the bridge
The other Mexicans mill about smartly near the cantina

After that, the Mexican dice went a little cold.


On the other side, the American dragoons went on the attack and finished off the Mexican cavalry. Then the charged the infantry that had crossed the bridge and destroyed that unit.

Dragoons finish off the cavalry
Then charge the recently disordered infantry


The troops in the redoubt rout, leaving on the artillery
The dragoons followed that up by charging across the bridge and pushing back the other Mexican reinforcements

The brave dragoons win the day

By this time the troops in the redoubt had been shot up or routed. This made it a complete American victory with light loses and a very bad day for the Mexicans.


It was a fun game (even with the bad die rolls). We are expecting to get in some more Mexican - American War games in the future.